Friday, 15 February 2013

Why make a toile?


The simple answer is, to get at good fit.


This picture shows a waistcoat toile.  It is a mock up of the garment you are going to make.


I always toile my patterns first whether they are my own or a commercial pattern. When cutting into expensive fashion fabrics you want to get it right before you cut out and not waste your lovely new fabrics. You can't make some adjustments or change the style once the fashion fabric has been cut into. A toile will only cost a few pounds, calico fabric is generally used here in England, which is cheaper to use, most of my toiles cost around £5. I can make the amendments, decide if the pattern style works for me and perfect the fit. I then make any changes and test it again in front of the mirror. Sometimes I will need to cut out a second toile and start again, but I can honestly say in the last five or so years, I have only needed to do this twice.

Time and effort at the early stages of your sewing makes for the perfect fit at the finish. And far better to spend a little time and a small amount of money toiling, rather than spoiling the fabric that has cost the earth or can't be replaced, because the shop has no more left!!

This photograph shows the layout of the commercial pattern I'm working with, Simplicity 3628, on some calico fabric.


Using a Quilters Rule makes checking grain lines easy, it is worth investing in one of these useful gadgets even if you are not a Patchworker. It stretches across the fabric to where the grain lines are on the pattern and can be lined up with the edge of the fabric to make this job effortless. Tape measures and normal rulers are fine, but using the Quilters Rule makes it quicker and it is very accurate.


After cutting out, I transfer all the markings from the paper pattern onto the calico using an HB pencil. There is no need to use tailors tacks or cut out notches into the seams on the toile. This cuts down on time too.

I mark all the normal points as if this is the fashion fabric. I also draw a line where the waist line is on the back and front, which helps with the fitting to ensure the waist on the pattern matches up with my own waist. The pockets placement lines can be drawn on so the positioning can be adjusted if need be at the fitting.


A final tip, I write the name of who the garment is being made for (especially if you sew for people other than yourself). Also the pattern company and pattern number and the size on the inside of the toile, so when I need it again I can find the right one easily.

Now I need to stitch it together and get it fitted. It is best to find a sewing 'friend' to help with fitting, because it is difficult to fit yourself well, especially the back of the garment.

I hope this explains what is meant by a toile. Please feel free to comment or ask any questions in the box below. If I know the answers I'll answer next time. My aim is to encourage people to sew for themselves and their families, it's a great hobby and a good way to get new clothes.
Next time the Fitting Stage

Saturday, 9 February 2013

Another new project and its blue again!!

I fitted this coat toile in December and it went well; now to make the winter coat.

This beautiful blue wool fabric is lovely to work with, but it has shrunk rather too much.  I pre-shrunk it before cutting out, but when I bonded on the interfacing it shrunk again!!!!

It stitches nicely and I have started to sew the back sections and darts, and then tacked the rest together.  I needed to do this whilst my sister was staying with me this week, so I can check the fit again and then get on with the sewing.  I think she likes it even if it's only partly done.


It is a commercial pattern Simplicity 2311 and we have adapted the style a little.  It should have side pockets, but I am going to do welt pockets just on the hip line.  I won't do the belt that the pattern suggests which comes from around the back and finishes in the front seams.  Mainly because the belt is just above where the pockets need to go.

Apart from a small alteration on the front where I have put in the pins, there is nothing else that needs attention.  We had a quick trip over to Leamington Spa to buy some nice lining fabric that matches up brilliantly. All being well I can just stitch it together now. 


The back is a lovely fit and I don't think it will miss the belt.  Now the next job is to take it apart, make the pockets and begin the real sewing.

Progress is slow with the patchwork jacket I've been making, no construction yet, still quilting the finished sections. This is because, I have been very busy with cleaning out the orangery and greenhouse ready for planting my seedlings.  I have scrubbed, swept, disinfected and washed windows, doors and walls. Now the sowing can really begin.

I have set out my onions in cells just the same as I did for my garlic.   I've planted all the tomato seeds, aubergine, chilli and peppers, they are all snugly sitting in trays over heated mats, scattered on window sills around the house.  So, there is nothing to see yet, until the little shoots start to peep through. 

Tuesday, 29 January 2013

The Linen Jacket

Still stitching the Linen Jacket, last week my tailoring class was cancelled due to the snow. I stayed home and got on, on my own.  I decided to stitch together the jacket lining and then put it into the jacket.  Sewing it in to the jacket by machine would have been easier, but I felt it needed to be hand stitch, as I want to use traditional tailoring methods for this jacket.


The pattern I've been using is not lined, therefore I had to make my own lining pattern first. Then I took the side front lining piece of pattern (left hand pattern piece as you look at the photo below) and designed my own inside  pockets.  Carefully designing it to prevent putting part of the pocket into the front facing piece, which is often seen on a commercially made gent's jacket. My pattern piece is divided into two, the top part extends down into the pocket area and the lower piece extends up and includes an allowance for folding over and down into the pocket area. It worked very effectively.


I spent the time hand finishing some of the hems too, putting in some canvas into the hem line to give the hems support and structure.  This canvas is cut on the bias and stitched down along the fold line of the hem. 


The photo above shows the hem pinned up and ready for stitching. I really enjoy the hand sewing it very relaxing.  I generally save my hand work for the evenings, when I can sit in the arm chair and listen to the TV as I sew.

The new planting season has started, I've planted my Garlic!


On Sunday morning I got the planting season off to an aromatic start by planting my garlic bulbs into modular trays as Carol Klein had suggested on her TV programme on Friday 25th. I generally do this for garlic and onions and I was wondering when the best time was to get started on this.  Then on Friday night, whilst stitching and viewing I saw Carol was doing exactly this, so I knew it was time for me to do it too. 

I really feel I need to get outside and start working in the garden, I plan to plant some seeds next week and give the green house a good clean ready for the start of the sowing year.  I need to put out the seed potatoes into trays for chitting too or they won't be ready to plant when the time comes.

Friday, 25 January 2013

It's time to Quilt

It's been so cold outside, I decided it was best to stay in a sew!
This week I've been putting the front and back sections of the jacket together and cutting out the wadding and lining and basted them ready to stitch.


Jacket back under the sewing machine

 I have used the same yellow thread I used for the patchwork, to quilt the yellow and gold sections and I've found a brown thread for the darker brown areas.  I decided to use the machine and not quilt by hand.  After all it is the Quilters Edition of the Bernina sewing machine I have; I should really use it for one of the purposes it is designed for!  It will be much quicker too. And stop me getting sore fingers. 


Now that the front panels are completed and all the parts joined together, I am really very pleased that I decided to make the pockets to match in with the pattern.  This jacket is so far from the original one I did all those years ago, I hope I like it when its all done now. 


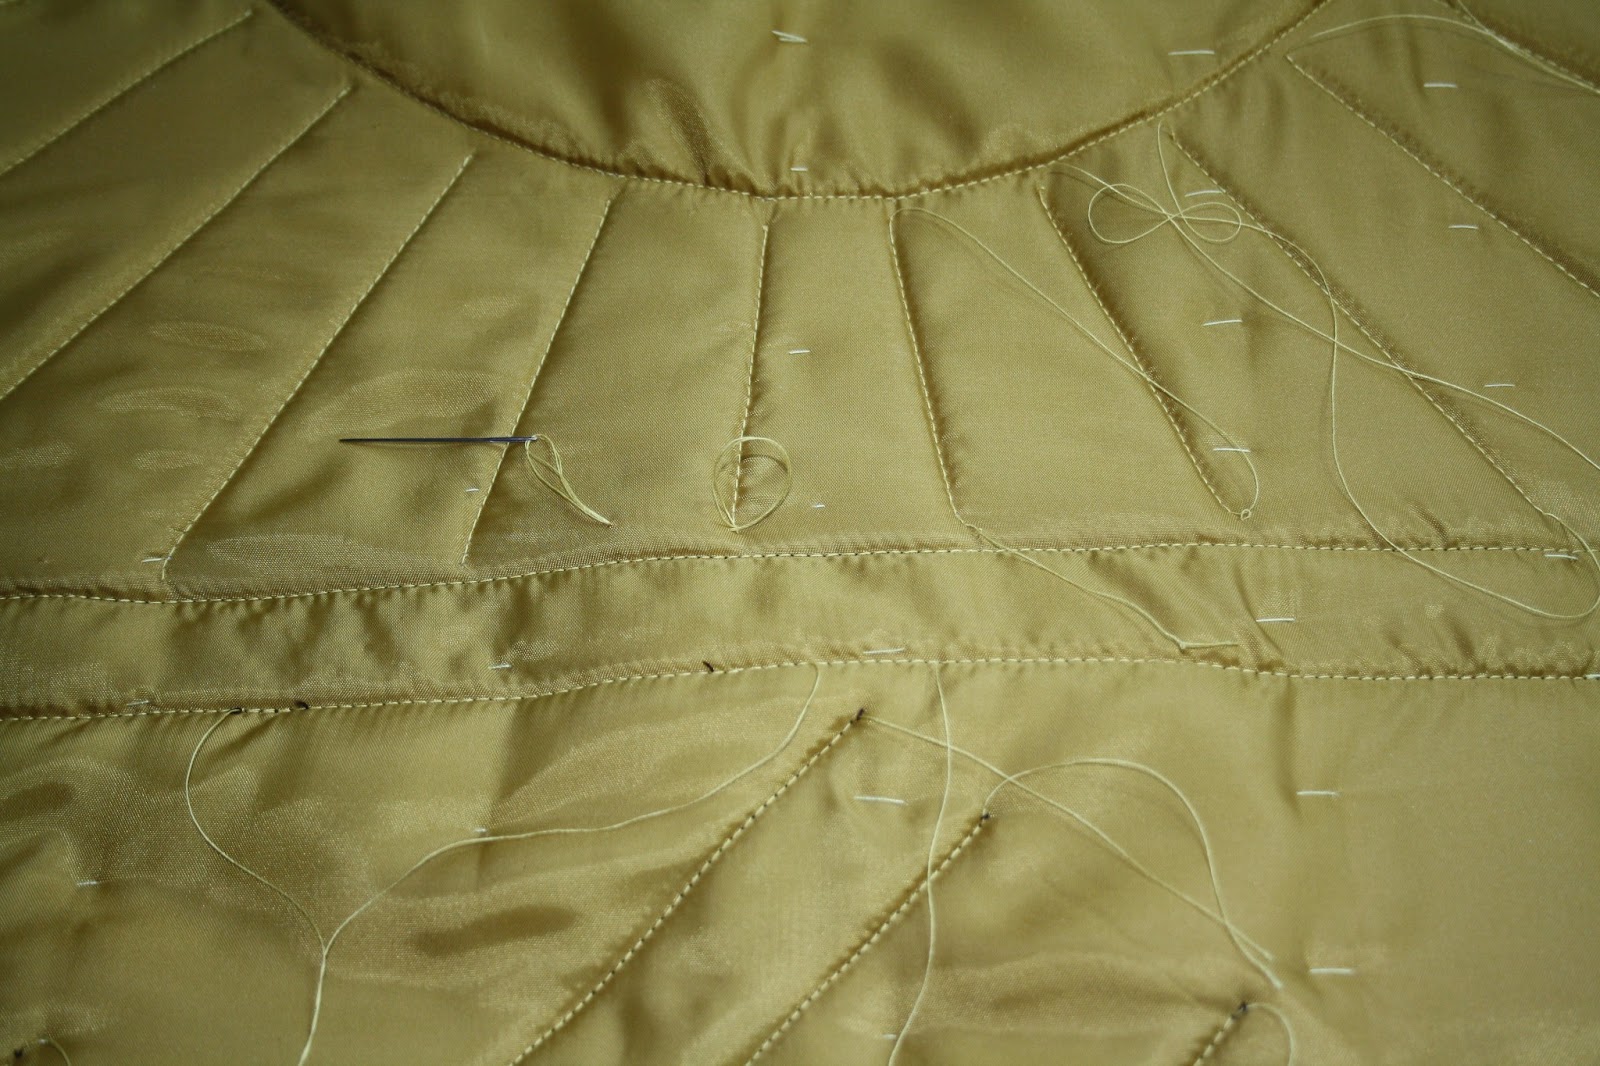
I have used normal polyester dress and jacket lining, the mustard colour was a good match.  I have kept the bobbin thread in the yellow colour for all of the inside stitching.  Here I am sewing in the loose ends, taking them from the front through to the back, tying them off and then hiding them between the layers.

I did say this would be finished before the end of the month, I think I might need an extension to my deadline. 

Monday, 21 January 2013

Progressing well with the Patchwork Jacket


The front panels are now done on my patchwork jacket. Yesterday while it was snowing heavily outside I started on the pockets, I wanted my pockets to match with the front design and I think I have managed it.


The completed front panels


I hope this idea works and it all matches when I put the fronts together.
 Can you see the join?


I did all this whilst the snow was falling outside.  I know where I'd rather be, but could not resist going out with the camera last night to take a few pictures.


It snowed here all day Friday and again all day yesterday.  I was pleased I went out to stock up on sewing supplies at Ashby-de-la-Zouch on Thursday.  Forget the milk and bread, as long as I have sewing provisions that is the priority in this house!!

Tuesday, 15 January 2013

Problems and Solutions

It's official I passed my City and Guilds in Tailoring. I am so pleased.


About 40 years ago I started a City and Guilds in fashion, but circumstances changed in my personal situation and I never finished the course.

I don't like to start something I can't complete, so last year I enrolled on a course to do a Tailoring City and Guilds, at the  Ashby de la Zouch Sewing School. I enjoyed every minute of the year I spent there learning new skills. Now  I'm 'over the moon' to know I passed. Does this mean I can call myself a Tailoress?


I'm still working on my patchwork jacket, yesterday, I made the pattern for the front yoke; I chose the fabric and cut it out and stitched it.  Usually Crazy Patchwork is stitched to a backing and then hand stitching covers the raw edges.  I was careful to design my piece so I could stitch sections together on the sewing machine.  I chose this method because this patchwork is for a wearable garment and not a quilt or wall hanging.  


I hope the fabric I've just bought, to link all the pieces together on the finished jacket is OK. In the picture below, I've laid the Crazy Patchwork yokes on to my new fabric to have a look at the effect.


Does it work I wonder?  I don't want to use a completely plain fabric, nor do I want a lighter fabric.  But I thought this might just do the trick. 

The troublesome sleeves

Before my next gent's tailoring lesson, I needed to finish the sleeves on the jacket I'm doing, they are giving me grief.  The sleeve heads and the holes in which I need to get them, have a 3 inches (7.5cm) difference in size.  I've been trying to get a huge sleeve head into what seems to be a minute hole.   It's been a challenge.


Using my new sleeve head pressing gadget my nephew Thomas made for me. I used the iron and lots of steam to try to get the linen to shrink a bit.  I had stitched two rows of gathering threads around the sleeve head and I drew up the gathering stitches as I steamed, to help to hold it in place and to keep the shape whilst it dried.  Then I repeated the process once the sleeve head had completely dried. When I pinned it into the jacket using the method my friend Elaine had suggested in her email this weekend, I found it worked.  Now the second sleeve is drying on the pressing gadget after the first steaming process this morning.  One more steam and I can add that to the jacket and I hope it's dry and done before my lesson this week. 


With the shoulder pad and the sleeve role in place this might just have done the trick. 

Friday, 11 January 2013

I shall wear diamonds on my sleeves!

I have finished the yoke of the jacket and started to work on the sleeve designs this week.

I need to find some suitable plain fabric to join the back sections together now.  I was thinking of a nice mid brown colour.


I saw a patchwork jacket sleeve in a book by Judy Murrah 'Jacket Jazz Encour'; where she has used strips of fabric joined together and then re-cut them to create a diamond pattern.  I decided to use the idea, but to work it in my own way to get the effect I wanted.


After drawing out the raglan sleeve pattern for my jacket I drew in all the diamonds to get the proportions right on the pattern.  After cutting the fabric out I laid the small diamonds shapes on the pattern so I could move the individual pieces around and find out where I felt they looked good together. I settled on this layout finally.


I cut out the second sleeve pieces before I started to stitch the first sleeve together, as I wanted to be sure I had enough of the fabrics to complete both sleeves.  Some of this fabric is no longer available, I wanted to be safe rather than sorry. 


From cutting out the patches and piecing together, each sleeve has taken 3 hours to complete.  So far the work,  from playing around with the design ideas, to the actual design, then the cutting out of the pieces and stitching everything back together has taken 19 hours.  I am pleased with what I've done so far, and can't wait until I start on the front tomorrow!